- What we do
- Works
- Pricing
- Insights
- Company
- Contact Us

Prototyping and wireframing are essential parts of any software development. It gives you a view of the product without any distractions, so you can clearly see its user flow and optimize it if necessary. Not everyone knows how to build a wireframe for an app correctly, but it’s risky to skip this stage.
However, in our prototype-or-die world, a wireframe for apps is a kind of a stepson, whose role in the design process sometimes remains ambiguous even to the fellow design squad. Let alone the purpose, even its look often leaves clients asking questions.
So, if you want to know how to create an app wireframe, stick with us!
What is wireframing?
Not a rough sketch drawn hastily on a piece of a napkin (inspiration never waits for the right time to come), not yet a full-fledged prototype. Plain, gray-colored, with Lorem Ipsum instead of text and crossed rectangles instead of images, just a simple template of an idea created from scratch… No wonder the value of a wireframe is not so self-evident. Neither is it clear how much time and expertise getting through this step actually requires.
We at Yellow never skip the stage of wireframing when we start a new project. As true advocates of wireframes, we believe that they do and will remain a powerful and efficient tool for refining concepts, experimenting, testing, and gathering user feedback at the earliest stage of product development. You’ll have the chance to see it for yourself in the coming chapters of this article.
However, our clients are usually not so enthusiastic about this stage as we are.
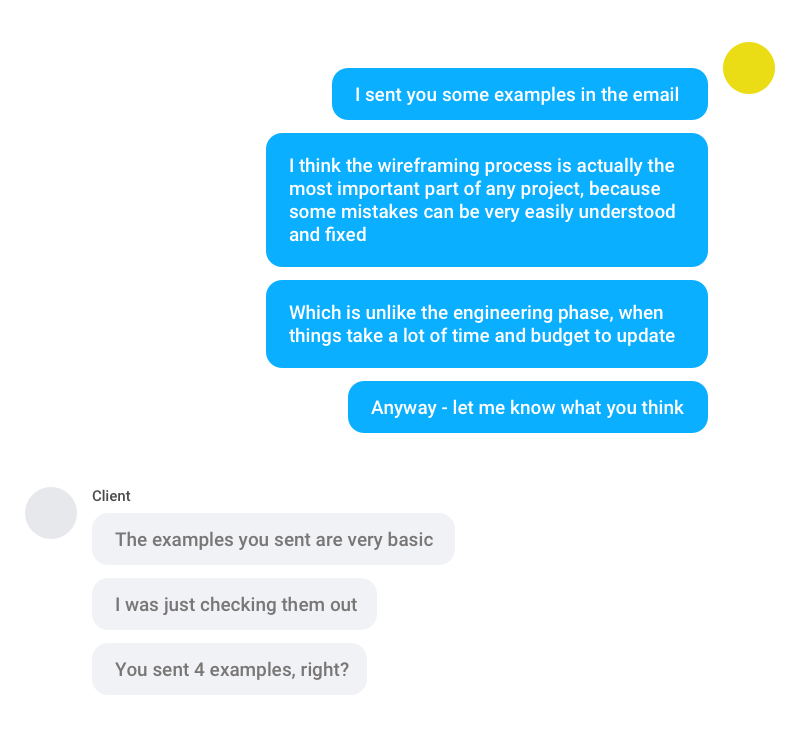
Basic is a very proper word to use here, though many would probably use it with a negative connotation, as in the case above. Actually, the dialog above uncovers the major reason why wireframes are so underestimated—that’s the absence of “decorations.” It turns out that wireframe, for example, doesn’t have the whole ‘design’ part, and that makes people think that the stage of wireframing is optional in the development cycle and can be safely skipped for the sake of saving time and money.
One may think of a it as a backbone. Just as the backbone holds together muscles and tendons, giving a human’s body strength and structure, a wireframe outlines the app’s interface, focusing on how it will function rather than on how it will look. That’s the reason why they are so basic: Unnecessary beautification only distracts attention from the essential components.
Stemming from the argument above is a typical question clients ask us. Why is creating a wireframe so difficult then? Why does this “basic thing” require so much time and effort, and—what is even stranger—the whole group of professionals?
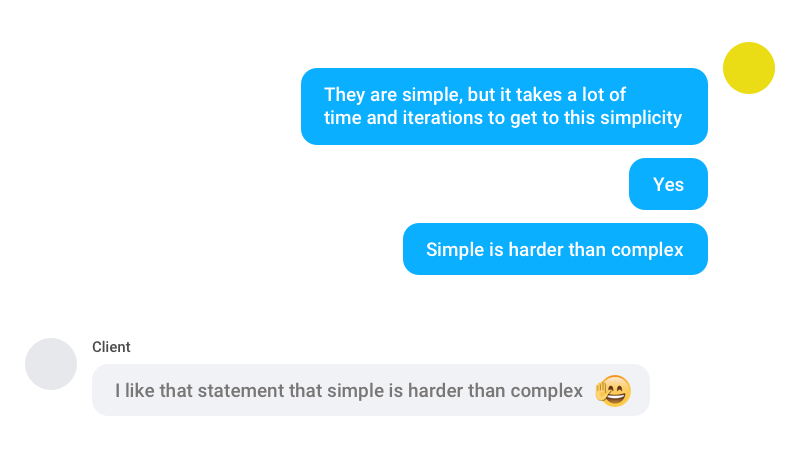
The answer is as simple as to wireframe an app.
“To create a wireframe is to create a product.”
Sure, there’ll still be a lot of engineering ahead, but given proper rigor, the skyscraper is usually not much worse than the blueprint. That’s why it takes a truly holistic approach to make a wireframe for an app, web page, or software—the one that requires understanding business, technology, marketing, user experience, and what’s the hardest—everything in between.
Main items that a mobile app wireframe typically includes
Even though all wireframes serve the same goal, not all of them are the same. Their main difference is the level of detail. We can divide them into three main types: low-fidelity, mid-fidelity, and high-fidelity.
Low-fidelity: These wireframes are the most simple and basic. They illustrate the general concept of the app and include only minimalistic shapes, blocks, and content. It’s a perfect way to start brainstorming or to sketch something for the investors on the go.
Mid-fidelity: They still don’t include a lot of details but are not as rough and simple as the previous type. Mid-fidelity wireframes can include text elements and some visuals and they already have the right content spacing.
High-fidelity: High-fi wireframes have the most pixel-specific UI layouts. They consist of even more detailed images and unique texts. They are the most valuable for further product design stages.

Here are some more details about what wireframes can include.
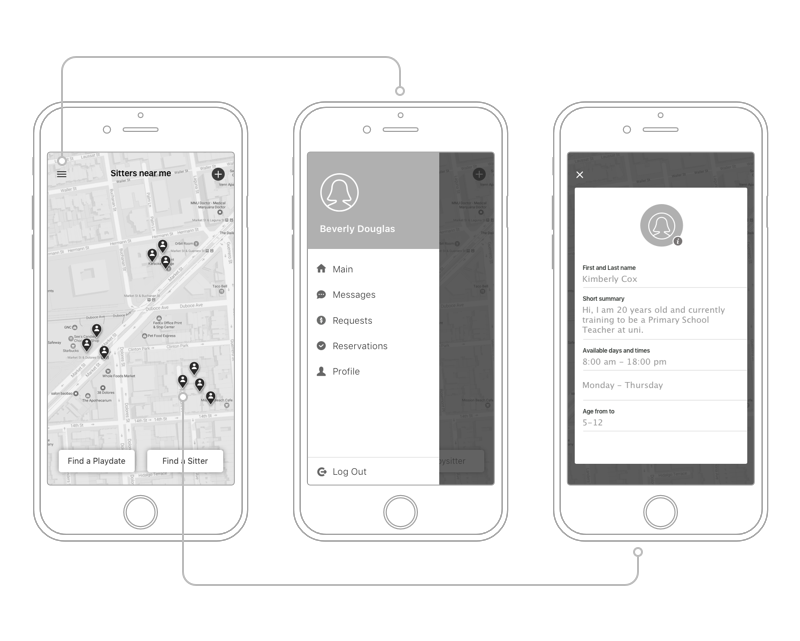
Home screen layout
This layout outlines the placement of essential elements like navigation bars, buttons, and key features, providing a visual representation of your app's main interface. It establishes the overall design hierarchy and guides users through the primary functions and content.
Navigation structure
The navigation structure is a crucial component of a mobile app wireframe, detailing how users move between different sections or screens within the app. It defines the flow and organization of information, ensuring a seamless user experience. This includes the placement of menus, tabs, and other navigation elements that facilitate efficient movement throughout the app.
User profile page
The user profile page illustrates the design and arrangement of elements on a user's personal profile screen. This may include user details, settings, and options for customization. The wireframe offers insights into the user interface, ensuring that the profile page is intuitive, user-friendly, and visually coherent.
Key functionality screens
These screens provide a detailed representation of how specific features work and how users interact with them. Whether it's the checkout process in an e-commerce app or the creation of a new document in a productivity app, these frames capture the essential steps and elements involved in the respective functions.
Interaction and navigation elements
They illustrate how users engage with the interface (buttons, sliders, input fields, and other interactive elements.) The wireframe defines their placement, size, and behavior, ensuring a consistent and intuitive user interface. Clear indications of how users can navigate through the app and interact with different elements contribute to a positive and user-friendly experience.
Ready to innovate? Let's start crafting your app success story
6 steps on how to build a wireframe for an app
Our team is an advocate of wireframing and we apply it to every project we work on. With the help of our experience, we created a simple strategy to follow. Here how to create an app wireframe.
1. Define objectives and requirements
Before diving into wireframing, it's crucial to clearly define the objectives and requirements of your app. The most universal ones will be:
To have a clear vision. Wireframes help you and your team understand what you are going to build. They will know what features to include, where to place the buttons, and what text and images should be prepared.
To avoid mistakes. Wireframes allow you to see the backbone of your product and iterate the hierarchy of content before starting the main development process. This is a good way to create several variants of your potential app and choose the best one. It will save you from major changes during the development.
To save time and money. If all the mistakes are spotted and fixed on wireframes, they will not be transmitted to the code, so in the long run, you will avoid additional time and money spendings. Coding and content creation will be easier and faster, and no extra money will be spent on major changes.
This initial step helps provide a roadmap for you and ensures that the design aligns with the overall goals of the project.
2. Create a rough sketch
Once you have a clear understanding of your objectives and requirements, start by roughly sketching the app layout. This can be a quick and informal drawing that outlines the basic structure and placement of key elements (buttons, menus, and content areas). Finding the right concept for the product always takes time and effort, and the first idea coming to mind is not always the best one. That’s why we should always be ready to experiment—read: admit that our assumptions are wrong and act accordingly.
Also, the golden rule we encourage our clients to stick to is “one app—one key feature.” Adding more features to the app after its core functionality has been defined sometimes makes the app worse. Sounds like a paradox, but good products are so good because they DON’T include many things. Wireframes help keep this argument in mind.
3. Choose the right tools
Selecting the appropriate tools is essential for efficient wireframing. Choose a tool that suits your preferences and project requirements. There are various options available, ranging from traditional pen and paper for quick sketches to digital tools like Sketch, Figma, or Adobe XD for more detailed and interactive wireframes. Consider collaboration features if you're working in a team to streamline communication and feedback.
4. Design the basic layout
With the rough sketch as a guide, start designing the basic layout of your app in the chosen wireframing tool. Focus on the placement and sizing of key elements, ensuring a logical and intuitive user interface. Pay attention to the navigation flow, keeping in mind how users will interact with the app. At this stage, it's about creating a simplified representation of the final product without getting into detailed design elements.
5. Add detail and annotations
Once the basic layout is in place, add more detail to your wireframe. Specify the functionality of each element and include annotations to provide additional context. Consider user interactions, like button clicks and transitions between screens. This step helps to bridge the gap between the wireframe and the final design, ensuring a comprehensive understanding of the app's functionality and user experience.
6. Review and iterate
Conduct a thorough review of your wireframe, seeking feedback from stakeholders, team members, or potential users. Evaluate the wireframe against the defined objectives and requirements. Use this feedback to iterate and refine the wireframe, making necessary adjustments to improve usability, address any issues, and align the design with the project goals.
Tools for designing a wireframe for an app
Now let’s talk about the toolset in detail. Depending on the type of wireframes, you can use various tools for creating them. When you want to create a low-fidelity wireframe, you can use only pen and paper, and it still will be valid and useful.
For more sophisticated wireframes, it’s better to use software tools. The possible solutions include:

Sketch. This is an efficient wireframing tool with vector editing and collaboration feature. It supports a lot of plugins, but it’s not cloud-based.
Adobe XD. A powerful design and prototyping tool that enables users to create interactive and visually appealing user experiences for websites and mobile applications.
Figma. Figma is an all-in-one tool for designers. It allows real-time collaboration for multiple people. Creating wireframes and prototypes has never been so easy.
Balsamiq. It includes drag-and-drop elements and a set of templates for creating simple wireframes.
InVision. A collaborative design platform that facilitates the creation, sharing, and testing of interactive prototypes.
There are more tools to complete this task that you can choose from, but these ones are the best solutions on the market.
Wireframes vs mockups vs prototypes: What’s the difference?
Besides wireframes, there are at least two more design concepts that go before the development itself: mockups and prototypes. It’s easy to confuse them, especially if you are not familiar with software design. We want to clear up and differentiate these notions for you.
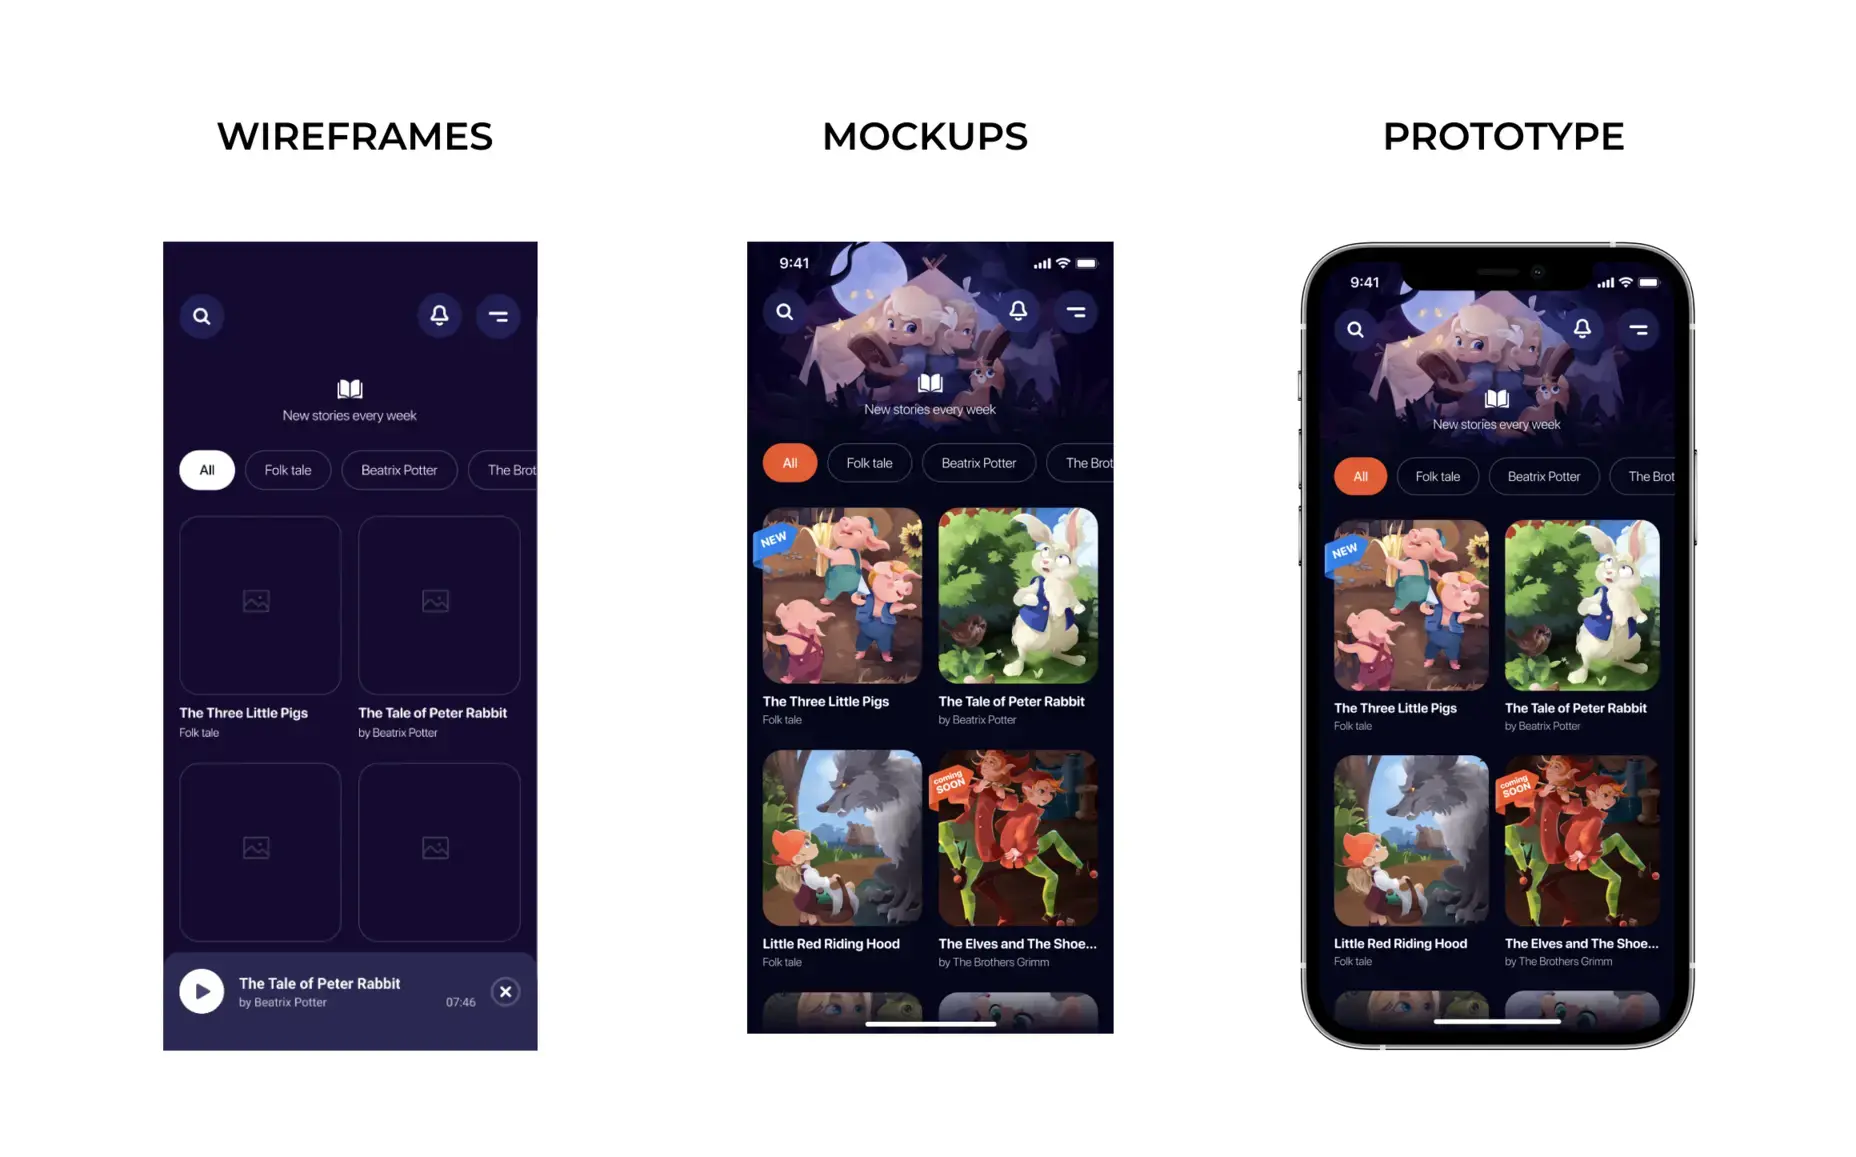
Wireframes
We already described what wireframes are. They are drafts of main screens that show the most crucial elements of the app. They can vary in the number of details, but it’s still only a general conception that has almost nothing to do with the visual decorations.
Mockups
A mockup is more complex than a wireframe. It includes some visual elements that will help you understand what the app is going to look like. For example, mockups can include fonts, button shapes, main colors, and rich images.
Prototype
When mockups are finished, you can arrange them into a prototype. A prototype is an interactive model that gives you the ability to feel how your app is going to function. IT may not look like the final version but it should be close to it.
Why choose Yellow to create a wireframe for an app
To show you how to design a wireframe for an app and how we do it in Yellow, we will show you how we implemented this stage in one of our projects, StickerBox.
When we just started working out the concept of StickerBox, we weren’t sure long enough what the app should be. It took us several wireframing iterations to find the solution.
Our first assumption was that users would like to make fully customized stickers out of their photos. That’s why the earlier versions of Stickerbox included the functions needed to tweak every little detail.
However, as we further tested the app wireframe with real users, it turned out that they didn’t want to spend their time staring at the screens of their phones and trying to make the “right” decision; they were fine with the options offered by the app. Since we discovered that, Stickerbox, as we know it now, has been officially born.

Conclusion
As you see, wireframing is indeed a complex process, the value of which is not always clear at first sight. Only after we’ve gone through all the stages of creating wireframes with clients do, they also begin to see the true value behind them.
Wireframing is a big journey, but the good news is that in the end, you’ll find yourself with a perfectly polished concept that is very likely to take off. We think this makes wireframing worth every minute and dollar invested in it. Do you?
Empower your business with a custom mobile solution now
Got a project in mind?
Fill in this form or send us an e-mail
✔️ What is the purpose of a wireframe in app development?
✔️ Are wireframes necessary for every app development project?
✔️ How can wireframes help improve user experience (UX)?
Subscribe to new posts.
Get weekly updates on the newest design stories, case studies and tips right in your mailbox.